Showing posts with label sewing. Show all posts

Friday, April 25, 2014

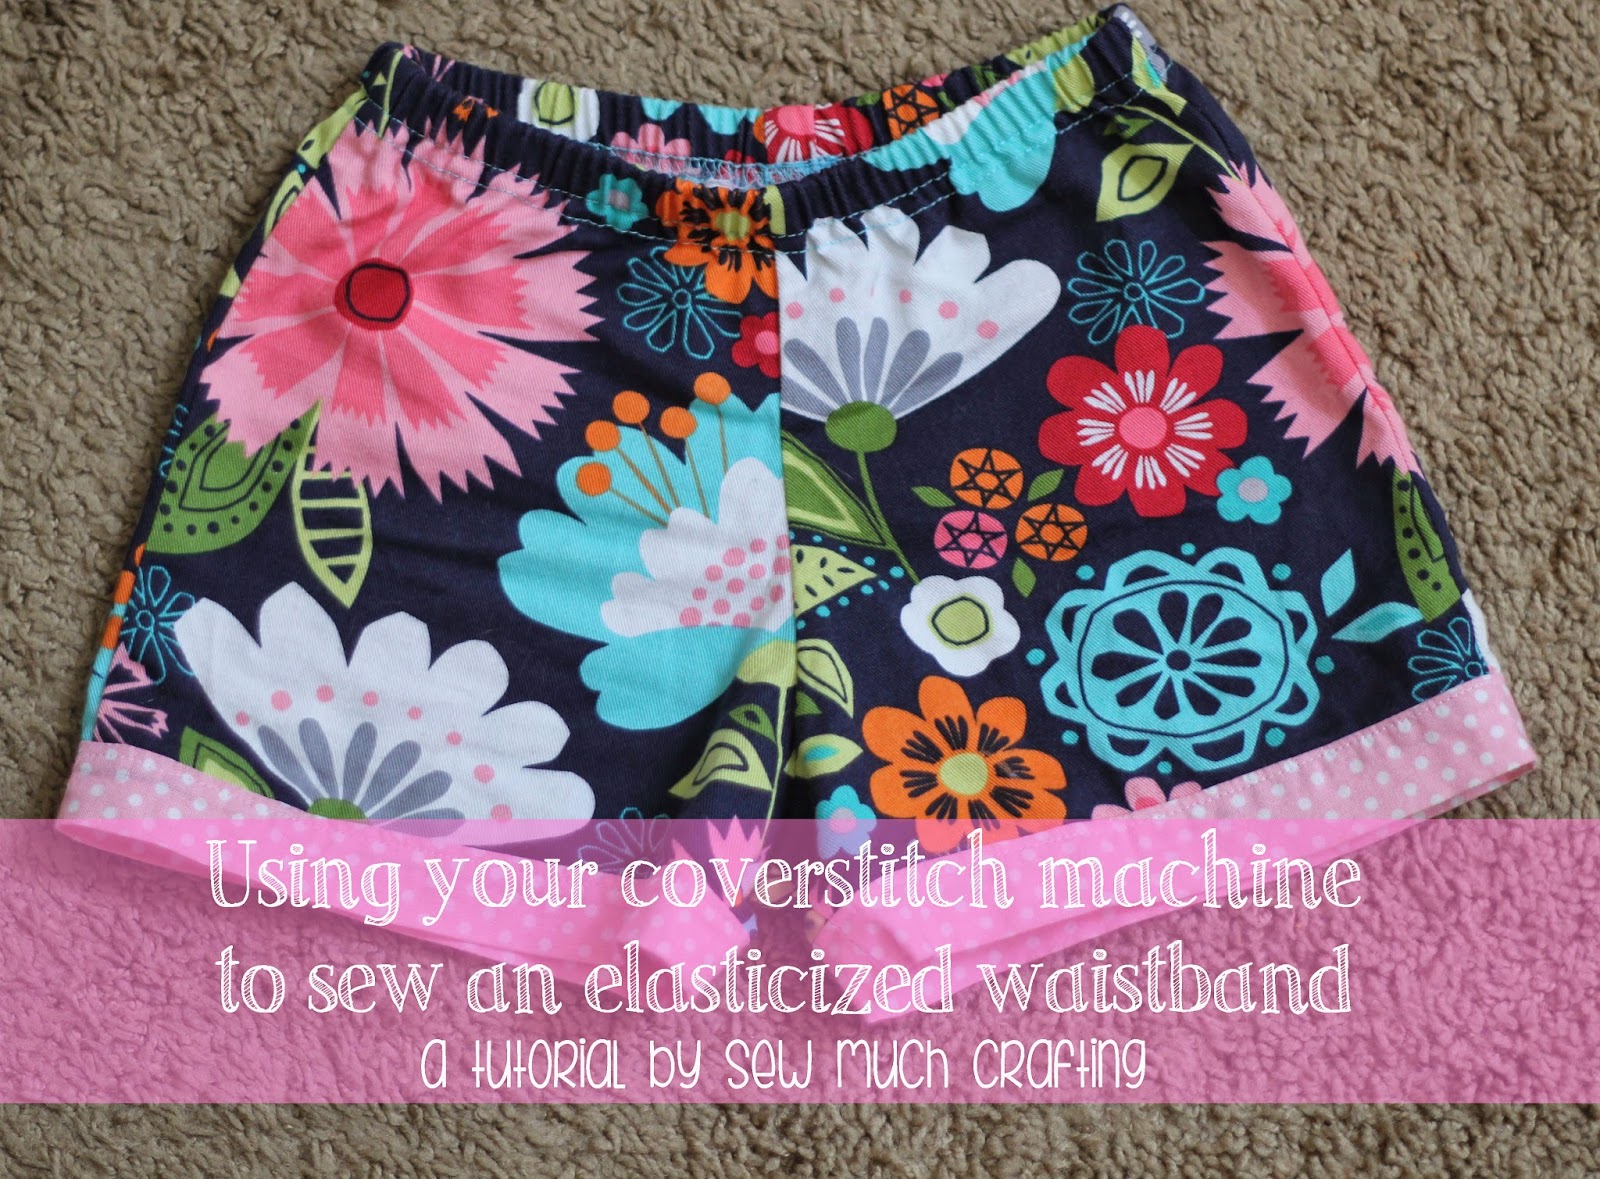
Using your coverstitch machine to do an elasticized waistband (Tutorial)

For Christmas this past year my awesome hubby got me an item I've been dreaming about since I started sewing--a coverstitch machine!  When I first pulled it out of the box I was immediately intimidated--and since we were moving just a few days later I quickly shoved it back into the box and resolved to learn about it "later."  

Once we had settled into our new house, and my sewing room was unpacked, I set up my new machine, and was determined to use it!  I turned to google and was disappointed in the lack of tutorials and information on using a coverstitch machine. I've pretty much learned by trial and error, and still would not consider myself and expert by any means! But I have figured out how to do a nice waistband using my coverstitch, and wanted to share the technique with you all as well.  Using this method is so much quicker than the usual casing method I've been doing for the past few years.

The machine I have is the Brother 2340CV.  I have it set up for a 3 thread coverstitch for this application.

The first thing you will need is an almost finished pair of pants or shorts. I'm using a pair of shorts I made for Cecelia using the 30 Minute Shorts Pattern by Lily Bird Studio.  
 Step 1: Fold over the waistband allowance and press.  In my case I'm using a 3/4" allowance.
Step 2: Cut your elastic to length (I'm using 1/2" elastic), and then overlap the ends and sew together to form a circle.
Step 3: Take the elastic circle you've just sewn and using a fabric marker mark each quarter section.
Step 4: Now is the best time to add your size tag if you choose. You will want to slip the elastic under the casing, then the tag and tack it down.
Step 5: Pin the elastic inside the casing, matching the marks you made with the seams on the pants/shorts.  Stretch the elastic to fit, and pin, pin, pin!
Step 6: Now the fun part!  Take your pinned pants/shorts and slide them under the presser foot on your coverstitch, right side up.  Using the guide on the machine, line up the edge with the right line.  You want to fully encase your raw edge on the underside, and catch the bottom part of your elastic in your stitches.  I'm using the Brother 2340CV,  and with a 3/4" allowance, the first guideline is the one you want to use.
Step 7: Sew!  For my machine I use the handwheel to do the first 2-3 stitches.  Make sure to remove your pins as you sew, and stretch the elastic with the waistband.  Go slow, but steady, and try not to start and stop the machine.  When you get back to your starting point, overlap the stitches for 1/2" or so.  Then cut your threads and tie off. (For my machine I cut the top threads, then pull them to the bottom side, and then cut the bottom thread. Then I knot the threads on the underside.)
 
Step 8: (Optional) Use FrayCheck or something similar on your starting and stopping points. I do this as a precaution in case my knot would come undone.
Step 9: Enjoy your finished pants/shorts! 
I'm definitely still learning how to use my machine, but so far I'm loving the uses it has.  It is great for hemming shirts, skirts, etc, and of course waistbands! I would love to hear what you use your coverstitch machine for too!  

As always, Happy Crafting!


Linking to these great parties:

Love Grows Wild

Thursday, March 21, 2013

McKenna's Pony Birthday Outfit


Every year I try to make my kids a special outfit that they can wear at their birthday party.  When McKenna requested a horse/pony party, I really had no idea what I was going to make.  I looked and looked for cute horse or pony fabric, and couldn't find anything that really spoke me.  I was almost to the point of just buying something when I had a sudden pinsiration!

I came across that skirt on Pinterest, and knew it would be perfect!  I grabbed an old pair of McKenna's jeans (one that had holey knees), and a scissors, and away I went. It turned out so cute!!  I pretty much followed the tutorial I linked above, minus all the cute buttons.  The bow I made following another tutorial--I can't remember which one I used, but if I find it again, I'll update this post.

For her shirt, I used a white tee-shirt that I picked up at Walmart for $1 on the clearance rack, and my Silhouette plus heat transfer vinyl.  It's a little complicated doing designs that require layering, but the result is so worth it!

Isn't she the cutest?


If Spring ever decides to arrive I may be taking a scissors to some more of the girls' jeans! They both have several pairs that have holes in the knees, and this is just so much cuter than patches!

Project #7 in my 52 in 2013 personal sewing challenge!
signature

125

Wednesday, March 6, 2013

Josie: A Modern American Girl

My two oldest girls have recently gotten into American Girl dolls, which means I have recently gotten into sewing for American Girl dolls! I have discovered a new passion I didn't even know I had!  I love sewing for the dolls--there is something so satisfying about making things on such a small scale.  I love seeing the girls' faces light up when I've made them a new outfit, especially something that looks like something they might wear! 

This is one of my favorite outfits I've made so far. I'm also using this as my entry for The Sew Off hosted by Naptime Crafters.  I would love to challenge myself by competing in a sewing competition, so I'm really hoping to get picked!! Wish me luck!!

Pattern info:

Josefina is modeling for me--I think she is a beautiful historical, but she also makes a stunning modern doll as well!


This was my first pair of doll-sized jeans, and my first hoodie--and I am thrilled with both of them!  Both patterns were easy to follow, and the results are so cute!  My girls were over the moon to have "real" jeans for their dolls.

This is also project #3 in my "52 Items in 2013" personal challenge.


Monday, June 2, 2008

Lots to share today!

I got lots of sewing done today, so lots of pics!!

Last week, I cleaned my ENTIRE house, top to bottom--including decluttering. We hauled out a pickup load of garbage, plus I got rid of numerous bags of items on Freecycle. Since the house was so pretty today, I decided to reward myself w/ some sewing! I focused on diapers today, since Kenna's stash is getting low; plus, I've recently decided that I prefer fitteds to PUL pockets, so I needed to make more. Lot's of firsts for me today too!!

Here we go!

First ruffled Fattycakes!! Knit outer, hidden knit, cotton velour inner. Pocket fitted.


First fleece cover! Followed THIS pattern. Size Large--works great!!!!!


First PUL Little Comet Tails Little Starter. PUL pocket, PUL outer, cotton velour inner, w/ snap in soaker of velour, and an unknown fabric. Size small--for my friends new baby!


Hippy Hippy Snap PUL pocket. Print PUL outer, velour inner.


Hippy Hippy Snap pocket fitted. Knit outer and hidden, print cotton velour inner.


Also today, I made another fitted fattycakes (already been used and dirtied!!)

Yesterday, I got a couple hours to myself too, and tried out the Hippy Hippy Snap pattern for the first time--these were my first attempts--made from one of McKenna's old recieving blankets, and cotton velour. A medium for Kenna, and an itty bitty newborn, just because! Sewing this diaper REALLY sent me into baby lust!! I really hope Dustin will consider having just one more lil' one!! Look how cute that little diaper is--w/ an umbilical snap down and everything!!


And, to keep going w/ the pics--I snapped some pics of my garden last night. Everything seems to be doing good so far--although I think I lost a pepper plant--but I have 6 more!


Right side:


Left side: