Friday, April 25, 2014

Rio Racerback and 30 Minute Shorts for Cecelia

I can't stop sewing for Cecelia--it is seriously an addiction! I love that she has no say in what I make, and that each item takes so little fabric! She is the perfect age to sew for--and the best part is, she LOVES clothes.  She gets so excited for each new item, and always runs to Daddy to show them off right away.  It melts my heart.  :)

 Yesterday I whipped up a new little outfit for her--and when I say whipped, I mean it.  It took me less than 2 hours to make a tank and shorts...and that was with photographing for a tutorial!  I used the Rio Racerback Tank & Dress pattern from Peek-a-Boo patterns, and the 30 Minute Shorts Pattern from Lily Bird Studio.  The shorts fabrics are from JoAnns--the main print is from the Doodles line of children's apparel fabrics, and the polka dot is from the novelty quilting cottons section.  The tank is navy interlock, and pink cotton lycra for the binding.  I cut out one of the flowers from the shorts print and appliqued it onto the tank.  
Both of these are quick sews, but still produce amazing end garments.  The fit on both patterns is great--I made a 3T in each, and they fit Cecelia perfectly (who wears a 3T at 18 months...).
Now if only she loved taking pictures as much as new clothes! She is such a little stinker as soon as the camera comes out! Either she's running from me, or running to me because she wants to see the screen!  But at least she looks adorable in her mama made. :)

Have a great weekend!
 

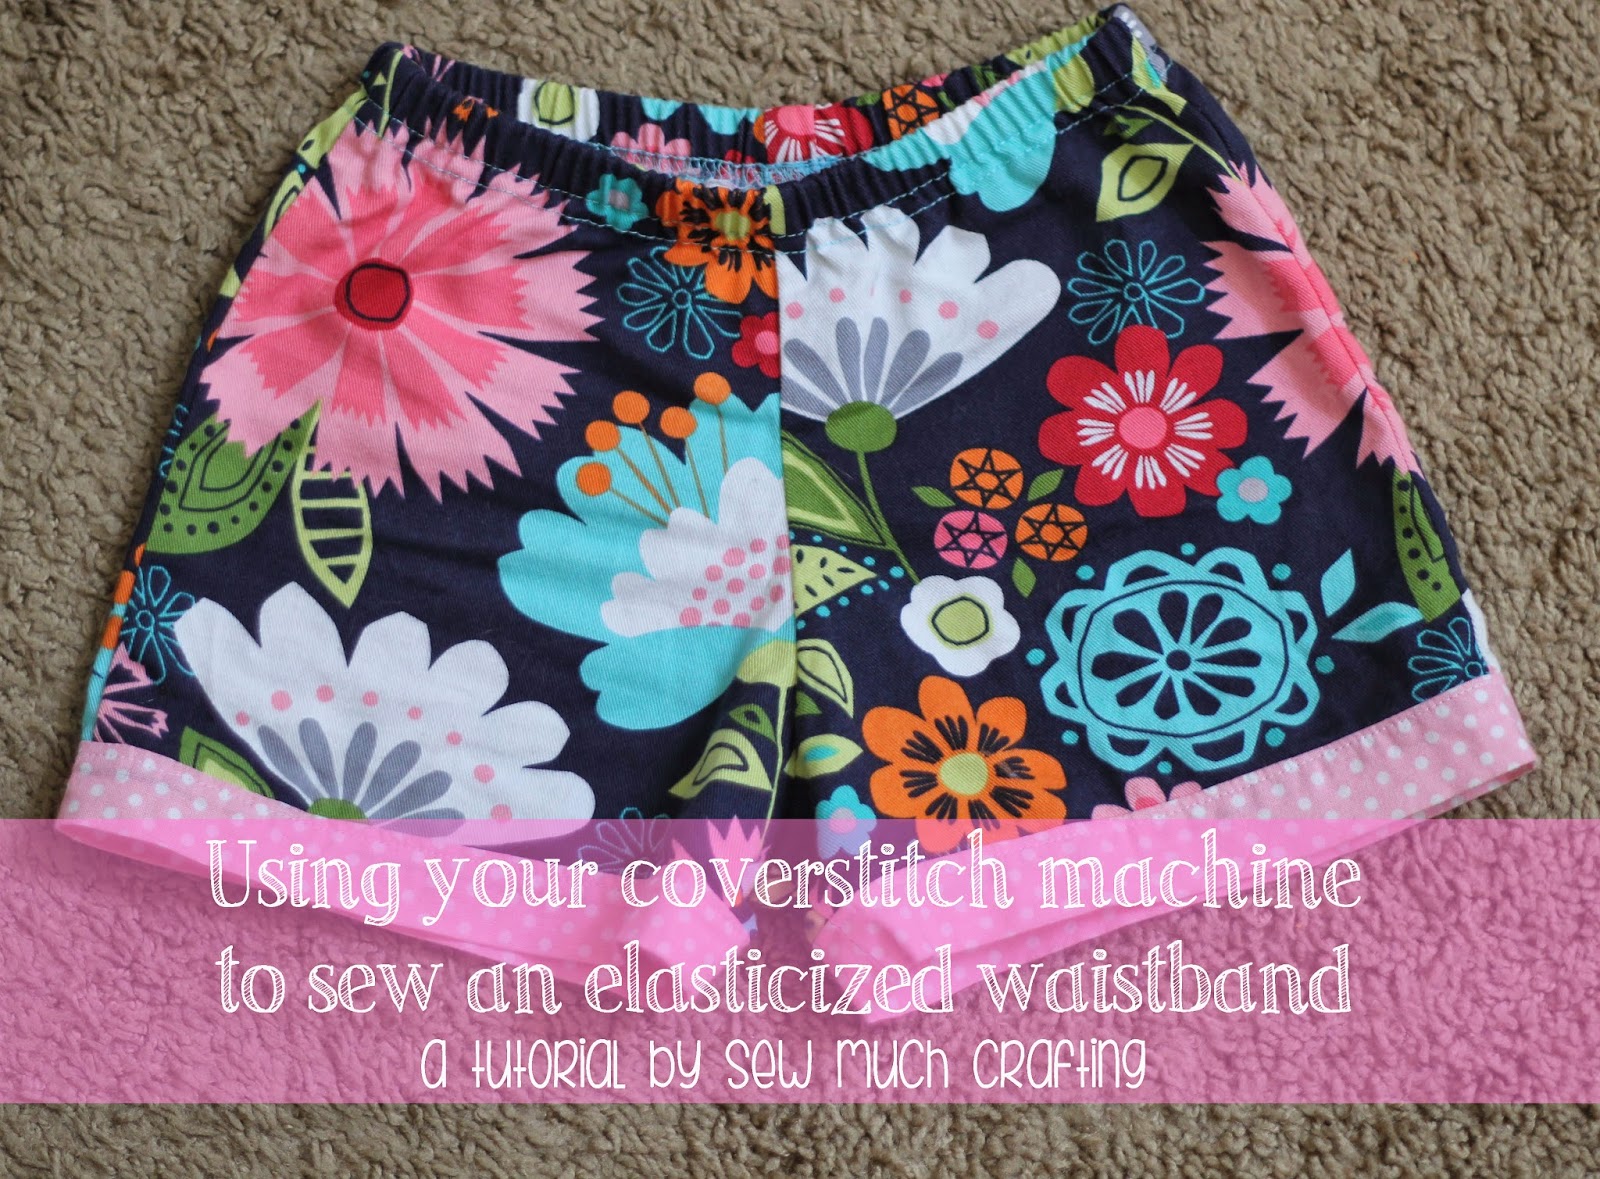
Using your coverstitch machine to do an elasticized waistband (Tutorial)

For Christmas this past year my awesome hubby got me an item I've been dreaming about since I started sewing--a coverstitch machine!  When I first pulled it out of the box I was immediately intimidated--and since we were moving just a few days later I quickly shoved it back into the box and resolved to learn about it "later."  

Once we had settled into our new house, and my sewing room was unpacked, I set up my new machine, and was determined to use it!  I turned to google and was disappointed in the lack of tutorials and information on using a coverstitch machine. I've pretty much learned by trial and error, and still would not consider myself and expert by any means! But I have figured out how to do a nice waistband using my coverstitch, and wanted to share the technique with you all as well.  Using this method is so much quicker than the usual casing method I've been doing for the past few years.

The machine I have is the Brother 2340CV.  I have it set up for a 3 thread coverstitch for this application.

The first thing you will need is an almost finished pair of pants or shorts. I'm using a pair of shorts I made for Cecelia using the 30 Minute Shorts Pattern by Lily Bird Studio.  
 Step 1: Fold over the waistband allowance and press.  In my case I'm using a 3/4" allowance.
Step 2: Cut your elastic to length (I'm using 1/2" elastic), and then overlap the ends and sew together to form a circle.
Step 3: Take the elastic circle you've just sewn and using a fabric marker mark each quarter section.
Step 4: Now is the best time to add your size tag if you choose. You will want to slip the elastic under the casing, then the tag and tack it down.
Step 5: Pin the elastic inside the casing, matching the marks you made with the seams on the pants/shorts.  Stretch the elastic to fit, and pin, pin, pin!
Step 6: Now the fun part!  Take your pinned pants/shorts and slide them under the presser foot on your coverstitch, right side up.  Using the guide on the machine, line up the edge with the right line.  You want to fully encase your raw edge on the underside, and catch the bottom part of your elastic in your stitches.  I'm using the Brother 2340CV,  and with a 3/4" allowance, the first guideline is the one you want to use.
Step 7: Sew!  For my machine I use the handwheel to do the first 2-3 stitches.  Make sure to remove your pins as you sew, and stretch the elastic with the waistband.  Go slow, but steady, and try not to start and stop the machine.  When you get back to your starting point, overlap the stitches for 1/2" or so.  Then cut your threads and tie off. (For my machine I cut the top threads, then pull them to the bottom side, and then cut the bottom thread. Then I knot the threads on the underside.)
 
Step 8: (Optional) Use FrayCheck or something similar on your starting and stopping points. I do this as a precaution in case my knot would come undone.
Step 9: Enjoy your finished pants/shorts! 
I'm definitely still learning how to use my machine, but so far I'm loving the uses it has.  It is great for hemming shirts, skirts, etc, and of course waistbands! I would love to hear what you use your coverstitch machine for too!  

As always, Happy Crafting!


Linking to these great parties:

Love Grows Wild

Thursday, April 24, 2014

Peek-a-Boo Patterns Rio Racerback

Hey all! This week I was fortunate enough to get chosen to test the newest release by Peek-a-Boo Pattern Shop--the Rio Racerback Tank and Dress.  It was just released today, and is on sale so hurry up and grab this one! It's a great pattern, and the perfect summer staple!
My favorite things to sew are easy, comfortable, basic pieces, and this pattern fits the bill perfectly.  I was able to sew a dress for McKenna in a little over an hour, and with less than a yard of fabric.  Yes!  I love that there is the tank and dress option, the gathered neckline, and of course, the racer back.  It's sporty, yet causal and fun. Both my oldest girls love the design, and have requested me to make several more!
 I used a lightweight jersey stripe I purchased from Girl Charlee, and used gray interlock for the binding. The neon pink stripe screams SUMMER to me, and this dress is the perfect compliment.
 I finished a tank for Ashlee last night, but haven't had time to grab pics, so hopefully you'll see those later this week! Until then, Happy Crafting! 

Tuesday, April 8, 2014

Kindle Pouch

This was one of the funnest projects I've done in awhile.  My niece turns 9 in just a couple weeks, and loves to read, so when I saw the Kindle 6" go on sale a few weeks ago on Amazon, I jumped on it!  But of course I couldn't just send the Kindle to her...it needed a pouch or a case or something!  I searched etsy and google for the perfect pattern, and couldn't find a pattern for a case that suited my needs, so I ended up ordering a book style case from Amazon, and am very pleased with it.  I then focused my search for a pouch pattern, and found the perfect one, from one of my favorite designers, Michelle Patterns.  I used the More Pleated Pouches Pattern found here.  The pattern included instructions and pattern pieces to make several sizes of pouches--I went with the Tall pattern, and it fits the Kindle with the case on perfect!  I used fabric I found at Joanns (part of the Doodles collection), and I think it turned out so cute!!  

Here are a few pics! (Oh, and ignore the scuzzy tile--we are in a rental for a year until we buy a house!)


 I also made her a cute little luggage tag--her big birthday present from her parents in a plane ticket to come visit us this summer, so I thought this was be perfect. I used the Luggage Tags pattern from Birdiful Stitches, which can be found here.

That's it for today! Happy Crafting!

McKenna's 7th Birthday Dress

Hello all!

Today I wanted to share with you the dress I made for my daughter McKenna's 7th Birthday!

 We recently moved to Nevada, far away from all our friends and family in South Dakota, and McKenna's birthday was our first celebration so far from 'home'.  We had lived in South Dakota since Braydon was just a month old (so 10 years!), so birthday parties were always a pretty big occasion filled with cake, celebration, and lots of people!  Since we wouldn't be doing the traditional birthday party this year, we knew we had to do something fun to make up for it...and decided we would spend the weekend in California!

We had an awesome time--we went to Knott's Berry Farm theme park on Friday, hung out at Newport Beach on Saturday, and hit up the American Girl store on Sunday before we left town.  It was an amazing weekend for the birthday girl!

Knott's Berry Farm

Newport Beach


Ashlee and McKenna at the American Girl Store L.A.


So, back to the dress. I wanted something beachy, but practical that could be worn anywhere, and throughout the summer.  After browsing a few patterns, I settled on the Peek-a-Boo patterns Jasmine Dress.  McKenna picked out the fabric herself--it's a beautiful floral print by Lizette for Joanns.  The pattern sewed up beautifully--I had no issues at all, and the fabric was so nice to work with.  Both McKenna and I were thrilled with the end result--Love it when that happens!


 As usual, happy crafting!!