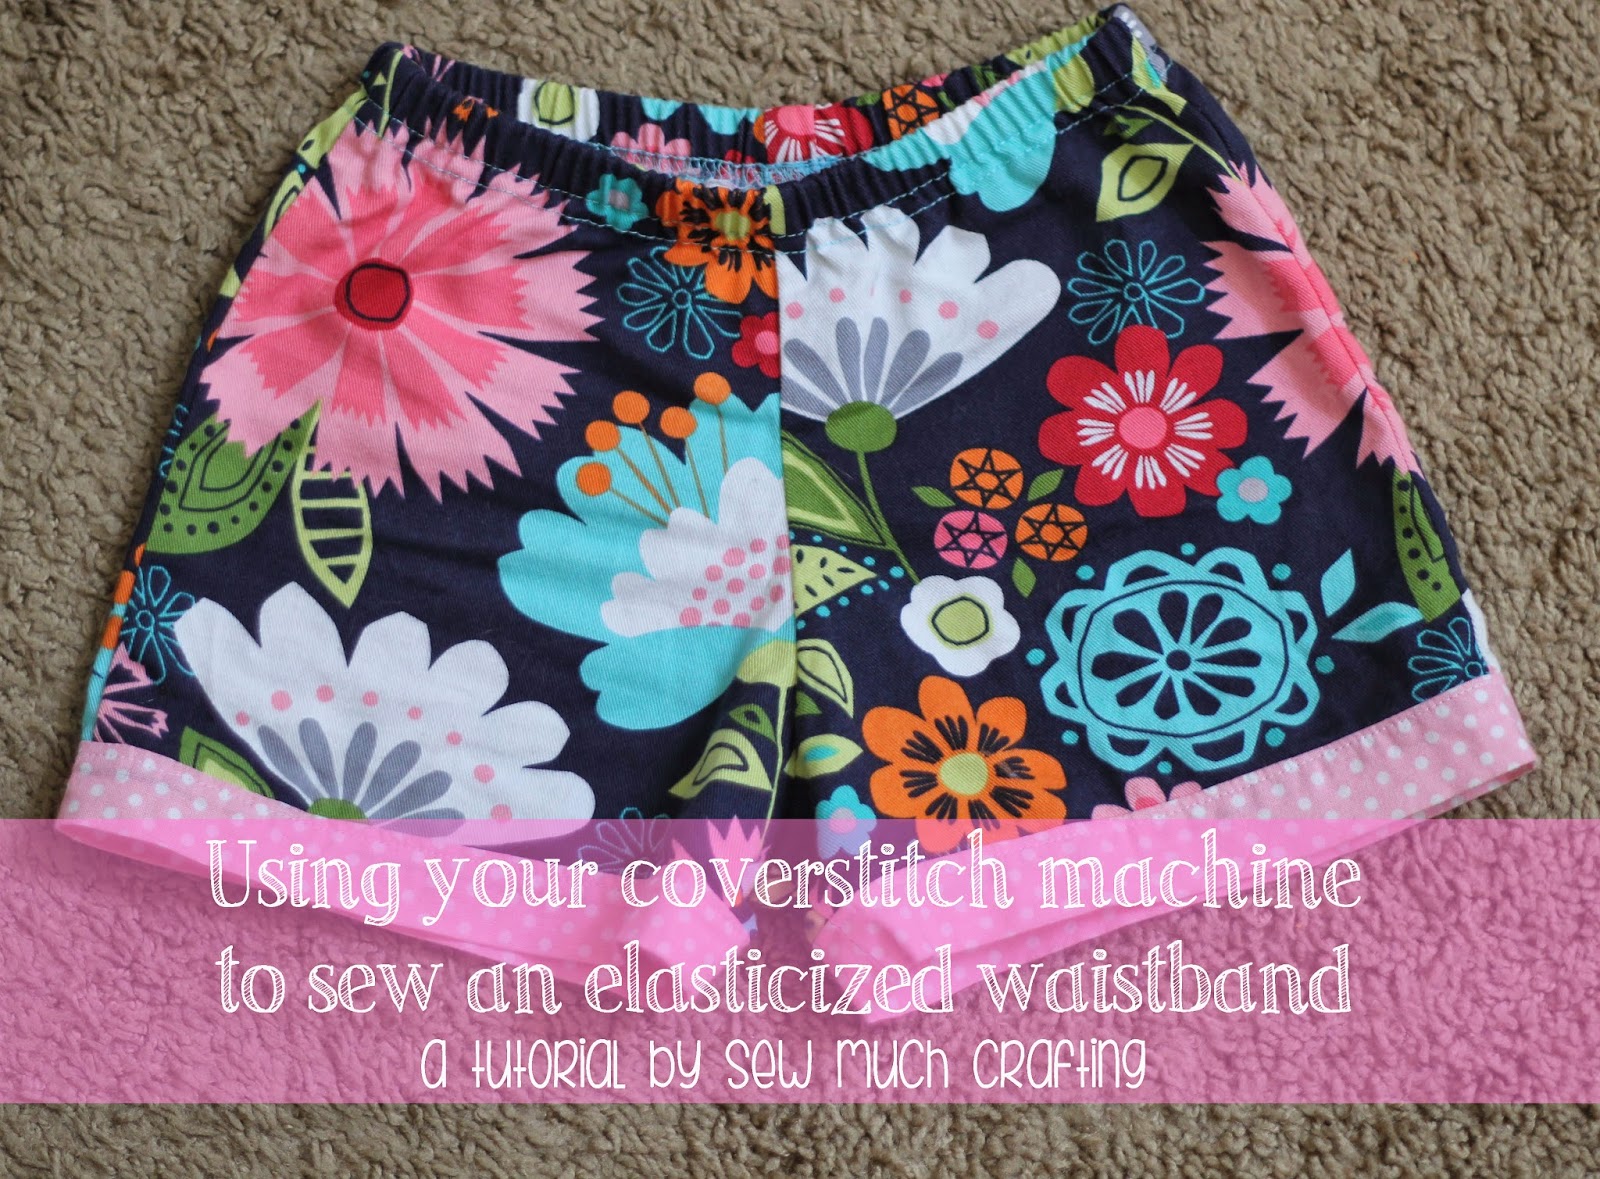
Once we had settled into our new house, and my sewing room was unpacked, I set up my new machine, and was determined to use it! I turned to google and was disappointed in the lack of tutorials and information on using a coverstitch machine. I've pretty much learned by trial and error, and still would not consider myself and expert by any means! But I have figured out how to do a nice waistband using my coverstitch, and wanted to share the technique with you all as well. Using this method is so much quicker than the usual casing method I've been doing for the past few years.
The machine I have is the Brother 2340CV. I have it set up for a 3 thread coverstitch for this application.
The first thing you will need is an almost finished pair of pants or shorts. I'm using a pair of shorts I made for Cecelia using the 30 Minute Shorts Pattern by Lily Bird Studio.
Step 1: Fold over the waistband allowance and press. In my case I'm using a 3/4" allowance.
Step 2: Cut your elastic to length (I'm using 1/2" elastic), and then overlap the ends and sew together to form a circle.
Step 3: Take the elastic circle you've just sewn and using a fabric marker mark each quarter section.
Step 4: Now is the best time to add your size tag if you choose. You will want to slip the elastic under the casing, then the tag and tack it down.
Step 5: Pin the elastic inside the casing, matching the marks you made with the seams on the pants/shorts. Stretch the elastic to fit, and pin, pin, pin!
Step 6: Now the fun part! Take your pinned pants/shorts and slide them under the presser foot on your coverstitch, right side up. Using the guide on the machine, line up the edge with the right line. You want to fully encase your raw edge on the underside, and catch the bottom part of your elastic in your stitches. I'm using the Brother 2340CV, and with a 3/4" allowance, the first guideline is the one you want to use.
Step 7: Sew! For my machine I use the handwheel to do the first 2-3 stitches. Make sure to remove your pins as you sew, and stretch the elastic with the waistband. Go slow, but steady, and try not to start and stop the machine. When you get back to your starting point, overlap the stitches for 1/2" or so. Then cut your threads and tie off. (For my machine I cut the top threads, then pull them to the bottom side, and then cut the bottom thread. Then I knot the threads on the underside.)
Step 8: (Optional) Use FrayCheck or something similar on your starting and stopping points. I do this as a precaution in case my knot would come undone.Step 9: Enjoy your finished pants/shorts!
I'm definitely still learning how to use my machine, but so far I'm loving the uses it has. It is great for hemming shirts, skirts, etc, and of course waistbands! I would love to hear what you use your coverstitch machine for too!
As always, Happy Crafting!
Linking to these great parties:


Great tutorial! i have this machine as well and i have a terrible time ending off. Could you possibly do a pic by pic tutorial on ending off? Would be so helpful since there is not much info out there. Thank you.
ReplyDeleteWill definitely be trying this. I was wondering what the best way would be for elastic insertion using a coverstitch.
ReplyDeleteY las tenciones? En que número s están. Gracias
ReplyDeleteY las tenciones? En que número s están. Gracias
ReplyDeleteThank you for the great tutorial.
ReplyDeleteWhat am I doing wrong? Even when I remove the cutter, it still cuts off the material! How can that be?
ReplyDeletePenny
cap digitizing
ReplyDeletehttps://crystaldigitizing.com/custom-embroidery-digitizing/