Friday, August 8, 2014

School Belle Skort by Peek a Boo Patterns

Hey everyone! I had the privilege of testing out the newest release from Peek a Boo Patterns!  It's called the School Belle Skort, and it's absolutely adorable!

I tested the size 7 for McKenna--who normal wears a 6x/7 in ready to wear sizes.  For the fabric I used khaki colored twill from Joanns.  This skort is not a quick sew, but the results are worth it. The box pleats, buttonhole elastic for the waistband, and hidden shorts make this a real winner in my book!  We just switched to a uniform school last year, so this skort will be perfect for school--I will be making a few more of these for all my girls!

McKenna is very happy with her new skort, and was more than willing to do pics--so there are a few!


She thought it was hilarious I asked her to pull the skirt up! How many times will a mama say that?

Happy Crafting!

Busy busy busy!


It's so amazing how fast every summer flies by.  I feel like school just got out, but yet here we are, a mere two weeks and a couple days away from the first day.  We've spent the last few weekends out hiking around Mt. Charleston. It's a great way to beat the heat of Las Vegas, and the scenery is just beautiful up on the mountain! 

 Our first "big" hike we chose was Mary Jane Falls--which was definitely a challenge. It's about a 3 mile out and back hike, but the kicker is the 1400 ft. elevation change.  We all got a good workout going up the dozen or so switchbacks that take you up to the falls!

The next weekend we tackled Fletcher Canyon--this trail was 4 miles out and back, but not near the elevation change (only around 1000 feet).  The canyon is beautiful, but narrow--definitely not the place to be during flash floods! The kids did amazing on both hikes--I couldn't be more proud! I definitely see lots more hiking in our future--it's a great way to get outdoors and spend some time together as a family.
The kids and I on the trail to Mary Jane Falls
Cecelia and I-Mary Jane Falls
Kids and I at Mary Jane Falls

Ashlee-Fletcher Canyon trail
Fletcher Canyon
I've been lugging Cecelia around with the Ergo, which has worked beautifully, but I knew that if we planned to do this more often I needed something a little more rugged.  I did a little googling, and found that a Kelty Kids Child Carrier was what I was after--but the price tags are a little staggering. I did a quick search on Craigslist, and found an almost new Kelty FC 3.0 for a great price! I had a little birthday money, so it worked out perfect--I can't wait to try it out on our next hike! We've taken a few shorts walks around the neighborhood, and so far Cecelia loves it!
Sleeping Cecelia-Fletcher Canyon Trail

Cecelia and I trying out my new Kelty Carrier!

Have a great week!


Friday, July 25, 2014

KCW Days 3 & 4

Hey all!  My Kids Clothes Week challenge is not going as well as I had hoped, but I've still managed to get a little sewing done! Day 2 I made a nightgown for Kenna (no pics, it's in the wash already!), and Days 3 & 4 I worked on a fall outfit for Cecelia--even though it's 110 degrees out today!  :)

I'm sharing pics of that outfit today.  The patterns are from Ottobre 01/2009.  If you haven't heard of Ottobre, you are missing out. It is a wonderful magazine chock full of kids patterns.  It's european based, so the sizing is a bit different, and tracing the patterns can be a bit confusing, but the fit is always great, and the end results are always beautiful.  I used patterns #6 and #8 for this outfit, and the fabric is all from Joann's. The jumper is fine cord, and quilter's cotton for the back lining, and the undershirt is cotton interlock with white ribbing for the trim.  I appliquéd a big flower design onto the jumper for a little bit of added fun.  Overall, I'm super happy with how this turned out! I made a size 92cm, and it's a smidge big on Cecelia yet, but that's probably a good thing since she won't wear it for a few months!  


Happy Sewing!

Tuesday, July 22, 2014

Kids Clothing Week Day 1

Hey all!  This week I'm participating in the Kids Clothes Week (KCW) challenge! The challenge is to sew one hour a day for your kids.  This week is crazy busy with swimming lessons, kindergarten prep for my youngest son, tumbling for the girls, doctors appointments, and just the regular chaos of life.  But I'm hoping to get my hour in each day--maybe more if time allows!

Yesterday I eeked out my hour. I chose a quickie pattern, as I knew my time was really limited--the Rio Racerback from Peek-a-Boo patterns--one of my go-to's for this summer.  I know many of the KCW participants are working on fall sewing, but since we live in the desert we have quite a bit of summer left!  So I'm still in tank and shorts mode. :)

I made a size 8 for Ashlee, using a thrifted ladies tee as the main fabric.  I used purple interlock from my stash for the trim, and for the mountain appliqué.  The Rio is a super fast sew, and the results are so cute! Couple pics from our super fast photo session last night--we barely made it before dark!


Happy Sewing this week!


Thursday, July 10, 2014

Minnie Mouse Feliz Dress


This might just be my favorite sewing project to date.  I usually stray away from characters in my sewing, especially for my kiddos. We don't encourage characters at home, and certainly not in clothing...but I made an exception for this dress.  My 22 month old LOVES Minnie Mouse, and I love to appease her. :)  

I wanted something that screamed Minnie, but wasn't over the top, so I decided to go with a small appliqué.  I used my all time favorite dress pattern, the Farbenmix Feliz (single pattern has been discontinued, but you can still get the pattern as part of the book "Sewing Clothes Kids Love" found here.)  I used three different polka dot fabrics, in three different sizes--yellow being the smallest, then black, followed by the red.  I added 4 rows of 3" ruffles to the back of the Feliz for that extra "wow" factor.  I was able to use all three of my machines for this project--sewing matchine, serger (for seams and rolled hems on the ruffles), and my coverstitch (hems). I also used my ruffler foot for the ruffles.  The Feliz is such a fun dress to sew--I've made so many now, I could probably do them in my sleep!  This is the size 18/24 months with seam allowance added. Normally Cecelia wears a 3T in RTW (ready to wear) clothing, so I debated doing the 3T/4T, but I'm glad I went with the smaller size, as she has plenty of room to grow in it! My favorite part about this dress is that once they outgrow it as a dress, it fits as a tunic, and still looks great! One Feliz lasts us 2-3 seasons!

Once I finished the dress, I just couldn't stop. I made a matching dress for her American Girl Bitty Baby with my scraps, and then set after making a hair bow.  My friend Kristen told me about an little tool called the Bowdabra, and let me tell you--you need one!  I bought the mini-bowdabra, and it is perfect for making all sorts of bow--including hair bows! I found a yellow pair of flip flops at Old Navy, and added bows to them as well.  Now, onto the pics!


Cecelia and her Bitty Baby

Close-up of the applique--simple but cute!
Back of the dress with all the ruffles!

My sweet girl.


Old Navy sandals with bows attatched.

Until next time!

Friday, April 25, 2014

Rio Racerback and 30 Minute Shorts for Cecelia

I can't stop sewing for Cecelia--it is seriously an addiction! I love that she has no say in what I make, and that each item takes so little fabric! She is the perfect age to sew for--and the best part is, she LOVES clothes.  She gets so excited for each new item, and always runs to Daddy to show them off right away.  It melts my heart.  :)

 Yesterday I whipped up a new little outfit for her--and when I say whipped, I mean it.  It took me less than 2 hours to make a tank and shorts...and that was with photographing for a tutorial!  I used the Rio Racerback Tank & Dress pattern from Peek-a-Boo patterns, and the 30 Minute Shorts Pattern from Lily Bird Studio.  The shorts fabrics are from JoAnns--the main print is from the Doodles line of children's apparel fabrics, and the polka dot is from the novelty quilting cottons section.  The tank is navy interlock, and pink cotton lycra for the binding.  I cut out one of the flowers from the shorts print and appliqued it onto the tank.  
Both of these are quick sews, but still produce amazing end garments.  The fit on both patterns is great--I made a 3T in each, and they fit Cecelia perfectly (who wears a 3T at 18 months...).
Now if only she loved taking pictures as much as new clothes! She is such a little stinker as soon as the camera comes out! Either she's running from me, or running to me because she wants to see the screen!  But at least she looks adorable in her mama made. :)

Have a great weekend!
 

Using your coverstitch machine to do an elasticized waistband (Tutorial)

For Christmas this past year my awesome hubby got me an item I've been dreaming about since I started sewing--a coverstitch machine!  When I first pulled it out of the box I was immediately intimidated--and since we were moving just a few days later I quickly shoved it back into the box and resolved to learn about it "later."  

Once we had settled into our new house, and my sewing room was unpacked, I set up my new machine, and was determined to use it!  I turned to google and was disappointed in the lack of tutorials and information on using a coverstitch machine. I've pretty much learned by trial and error, and still would not consider myself and expert by any means! But I have figured out how to do a nice waistband using my coverstitch, and wanted to share the technique with you all as well.  Using this method is so much quicker than the usual casing method I've been doing for the past few years.

The machine I have is the Brother 2340CV.  I have it set up for a 3 thread coverstitch for this application.

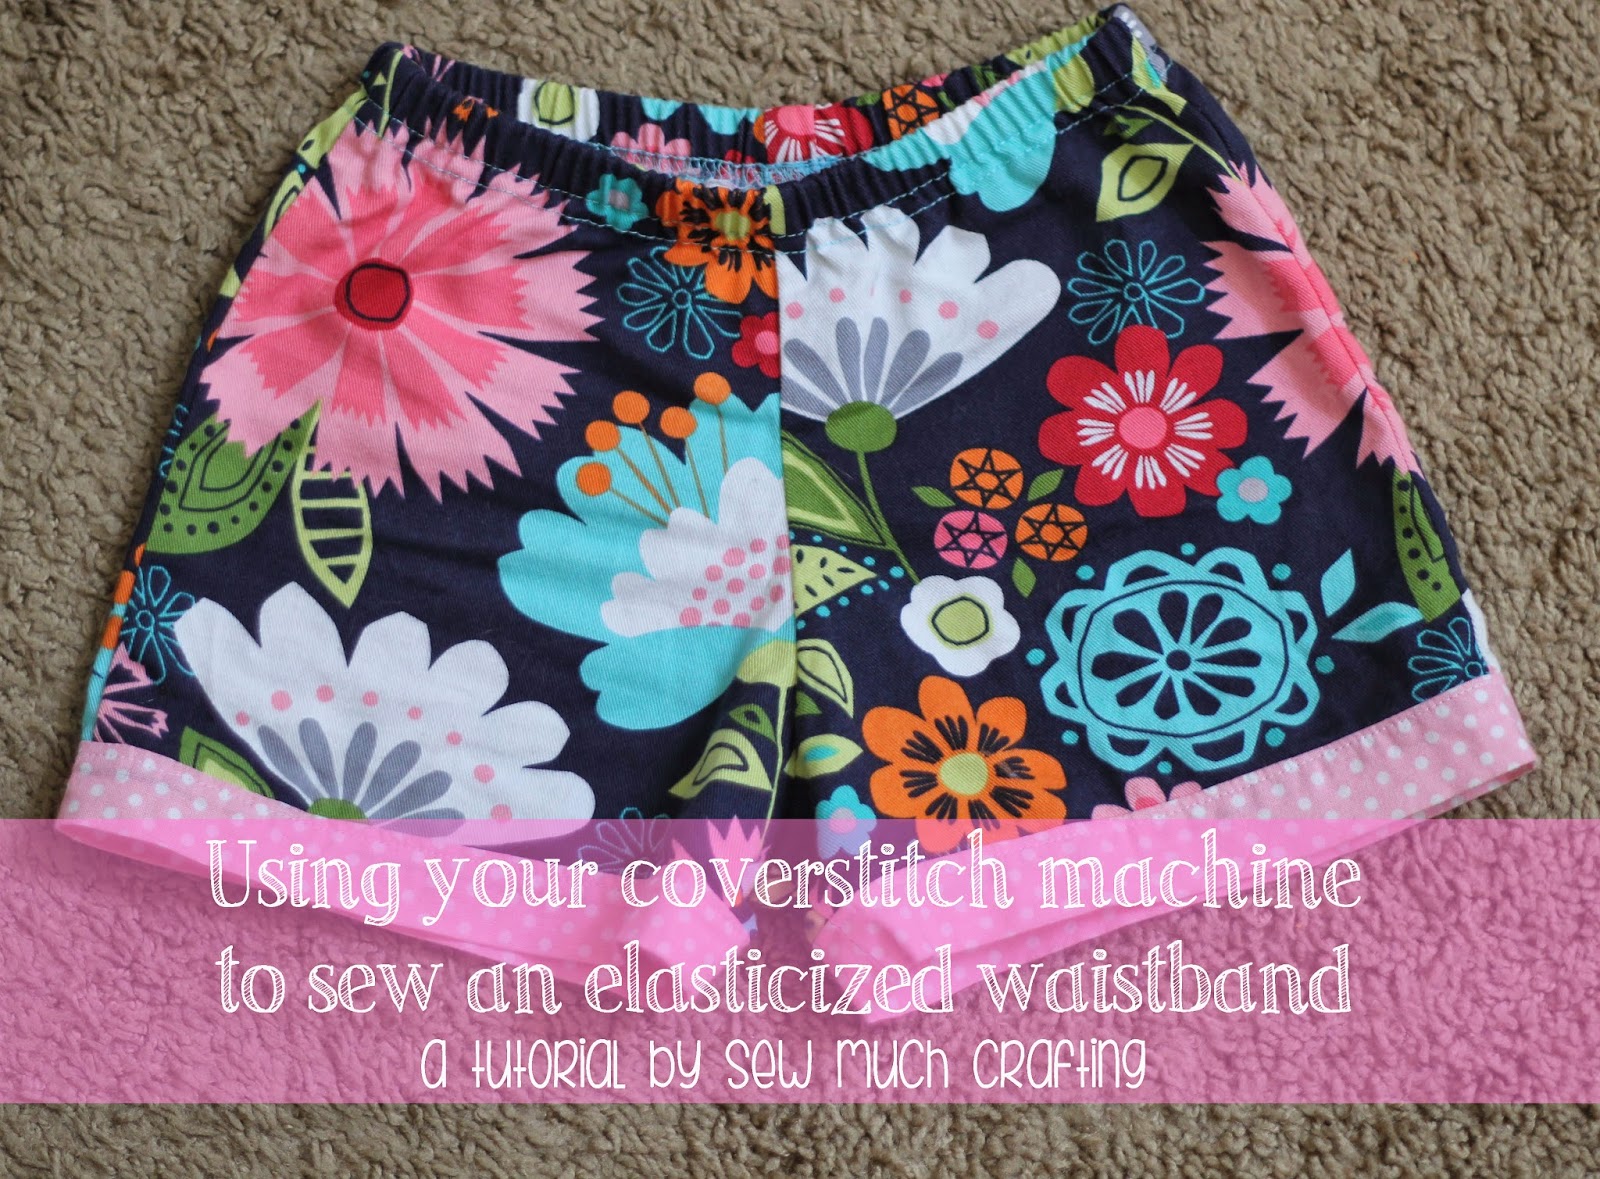
The first thing you will need is an almost finished pair of pants or shorts. I'm using a pair of shorts I made for Cecelia using the 30 Minute Shorts Pattern by Lily Bird Studio.  
 Step 1: Fold over the waistband allowance and press.  In my case I'm using a 3/4" allowance.
Step 2: Cut your elastic to length (I'm using 1/2" elastic), and then overlap the ends and sew together to form a circle.
Step 3: Take the elastic circle you've just sewn and using a fabric marker mark each quarter section.
Step 4: Now is the best time to add your size tag if you choose. You will want to slip the elastic under the casing, then the tag and tack it down.
Step 5: Pin the elastic inside the casing, matching the marks you made with the seams on the pants/shorts.  Stretch the elastic to fit, and pin, pin, pin!
Step 6: Now the fun part!  Take your pinned pants/shorts and slide them under the presser foot on your coverstitch, right side up.  Using the guide on the machine, line up the edge with the right line.  You want to fully encase your raw edge on the underside, and catch the bottom part of your elastic in your stitches.  I'm using the Brother 2340CV,  and with a 3/4" allowance, the first guideline is the one you want to use.
Step 7: Sew!  For my machine I use the handwheel to do the first 2-3 stitches.  Make sure to remove your pins as you sew, and stretch the elastic with the waistband.  Go slow, but steady, and try not to start and stop the machine.  When you get back to your starting point, overlap the stitches for 1/2" or so.  Then cut your threads and tie off. (For my machine I cut the top threads, then pull them to the bottom side, and then cut the bottom thread. Then I knot the threads on the underside.)
 
Step 8: (Optional) Use FrayCheck or something similar on your starting and stopping points. I do this as a precaution in case my knot would come undone.
Step 9: Enjoy your finished pants/shorts! 
I'm definitely still learning how to use my machine, but so far I'm loving the uses it has.  It is great for hemming shirts, skirts, etc, and of course waistbands! I would love to hear what you use your coverstitch machine for too!  

As always, Happy Crafting!


Linking to these great parties:

Love Grows Wild