
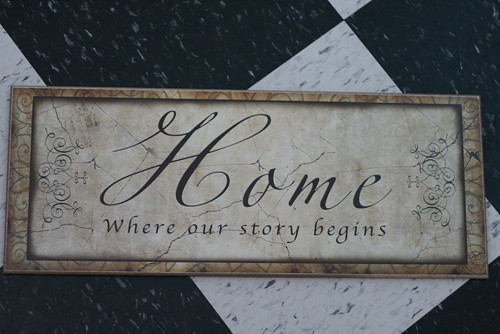
So, today's craftiness involved my new BFF, my Silhouette SD--what else? I saw this really cool typography print online here...and knew I could create something similar with supplies I had on hand.
When we moved in to our new house, we had a lot of blank walls--I bought a few 'pieces' from Walmart, Target, etc--just to put something on the walls, with intentions of redoing them later. This little beauty's time had come...
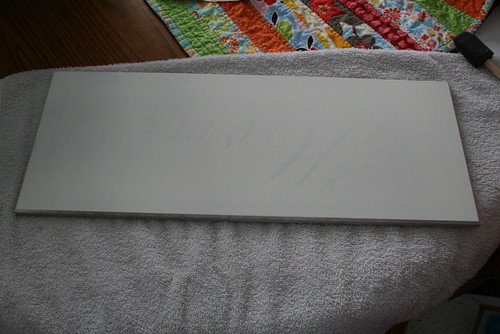
This was $10 I think at walmart--nothing wrong with it at all--but just not my decor style. So it became the base for my sign. Then I grabbed some acrylic paints, Valspar spray primer, brushes, vinyl and of course my Silhouette. I wish I had taken more pictures along the way, but I got caught up in the project, and haven't quite gotten the hang of blog ettiquette yet. ;) I'll get better, I promise!
First, I primed the board with spray primer:
(Actually first, I had to google map my house, and find the coordinates!)
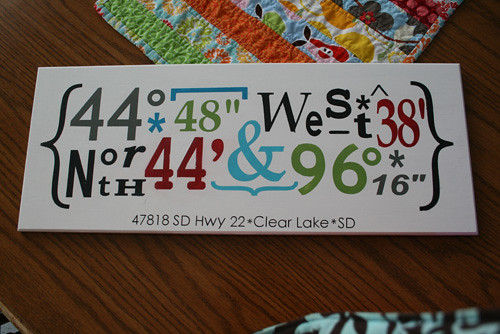
And gave it two coats of white acrylic paint. Then, using my Silhouette, laid out all the text in Silhouette Studio. I cut out the design in vinyl, and then weeded out the lettering, leaving behind a stencil I could use to paint. I found the center marks on my board, and on the vinyl piece, so that everything would be nice and centered. Then, using transfer paper, I applied the vinyl onto the board. Then using a spouncer and some acrylic paints, I painted in the lettering. Then I removed the vinyl, and let the paint dry. I then sanded it gently to give in an aged look (hint--let the paint try completely before sanding!!)
I ended up with this:
I happened to have another sign from Target that has been laying around since we moved--I took out the glass, and realized the frame fit perfectly for my new sign. So after a couple of coats of aqua spray paint, I ended up with:
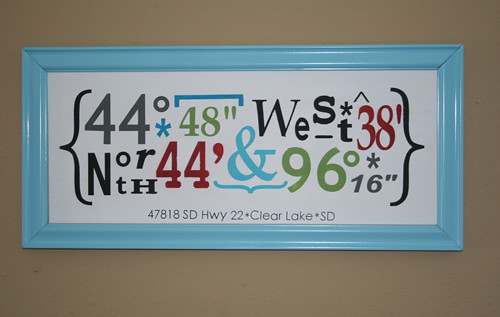
I am thrilled with how it turned out. Wish I could say the idea was original, but I'm glad I'm crafty enough to create it myself anyways! ;)
Happy Monday!
Linking up to these parties!

I'm Crafty Party # 5 at SYTYC

I love this! I've listed your project under my Inspirational Projects section. This is definitely a project I'd like to try!
ReplyDeleteI found you through Serenity Now's Craft Cutter Linky Party!
JoDee, this is a beautiful project!! I love how colorful it is. :) I'd feature this one, but I'm not sure you'd want your address to be out there for everyone to see??? The frame is gorgeous too, by the way! :)
ReplyDeleteThanks for linking this up to my "I {Heart} My Crafty Cutter" party. Have fun finding some neat crafty inspiration, and I hope you'll visit Serenity Now again soon. :)
What a cute cleaver idea. I love it. Thanks for sharing. Karie
ReplyDeleteI love your project. It turned out so great!!!
ReplyDeleteAlso, I have a great Dove chocolate giveaway going on right now and would love if stopped by and entered: http://eyespydiy.blogspot.com/2011/02/dove-chocolate-discoveries-giveaway.html
~Katie @ Eye Spy DIY
I love this project! May I copy it? I don't have a blog, but if I post my project on FB or something, I'll definitely credit you with the idea.
ReplyDeleteFeatured your artwork today. :) I hope to have an "I've Been Featured" button soon!
ReplyDeleteVery cute! The lat. and long. coordinates speak to me as an engineer :)
ReplyDelete