
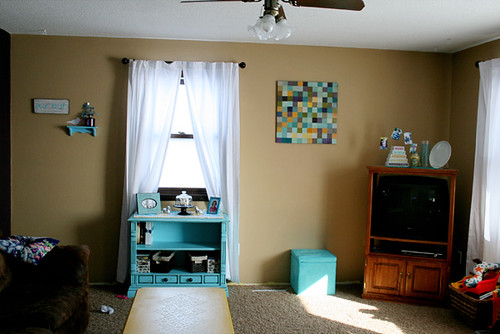
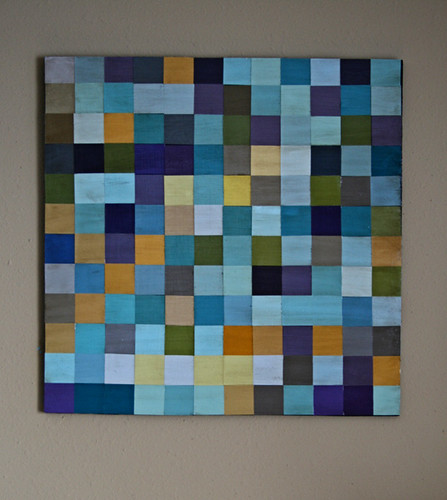
I scooped up a ton of paintchips from Lowes, and had hubby cut me a board to size--we even already had the wood, score! My finished piece is 24"x24". I cut my paint chips down to 2" squares, so I needed 144 of them. Then I used spray adhesive and adhered them to the board. I followed that with 2 layers of mod-podge, and 2 layers of stain--when applying the stain, I brushed it on, and then wiped most of it off. It left the piece looking more dimensional, or "old-looking" as my 5 year old said! ;)
All in all, super easy project, and also super cheap--the only thing I had to buy was spray adhesive, which is a crafting staple, and sure to be used for other projects.
What do you think? Does it work?
A FEW TIPS IF YOU WANT TO MAKE YOUR OWN:
1. Paint your board black before gluing down your paint chips--this helps hides any imperfections in lining up your chips.
2. Use stain! Not glaze. It will NOT give you the same look. Using glaze ends up just looking dirty--using stain makes it looked aged.
3. Take your time and make sure all your squares are cut the same size.
4. Layout your chips before gluing them down. It also helps to number the backs. Since I was going for a random appearance, I just stacked them up in order, and it worked for me. But if you want a more precise look, you would definitely want to number them so they stay in order.
I hope this helps someone, and hope that you try it! You can beat the price for custom artwork!
No comments:
Post a Comment